How to Use GitHub Copilot in VS Code: A Beginner's Guide
The Pairing Most New Developers Reach For First
The short answer: decide early how much you will lean on it. A healthy starting rule is to read every suggestion before accepting it, which keeps Copilot from writing code you cannot defend. Setup itself is short: install the extension, sign in, and start typing. The settings worth changing on day one are the inline suggestion delay and the languages you want it quiet in.
GitHub Copilot is the AI assistant most new developers try first, and VS Code is where most of them use it. The two fit together naturally, since Copilot began as a VS Code extension. Getting started takes only a few minutes.
The goal of this guide is to get you from a blank editor to productive use without confusion. It covers installation, the core features, and the habits that make Copilot help rather than hurt your learning.
This is written for beginners as of mid-2026. You do not need prior experience with AI tools, only a GitHub account and a working copy of VS Code on your machine. Copilot is a form of AI pair programming, so understanding that model first makes its suggestions easier to work with.
Install, Sign In, Start Typing
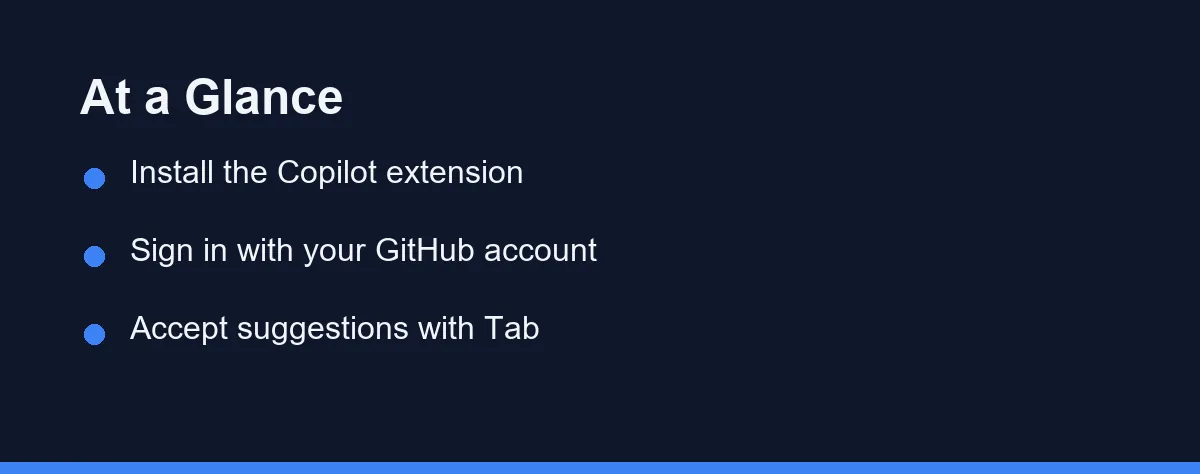
To use Copilot in VS Code, install the official Copilot extension from the Marketplace, sign in with your GitHub account, and start typing. Grayed-out suggestions appear as you write, and pressing Tab accepts them.
For anything more than autocomplete, open the Copilot chat panel. There you can ask questions, request rewrites, and have code explained in plain language. Both features live inside the editor, so you never break your flow.
Still deciding if Copilot fits you? Our free AI coding assistants guide weighs the free options.
What a Good Setup Looks Like Before You Start
Before diving in, it helps to know what a good setup looks like. The points below keep you from common beginner mistakes. Treat them as a checklist while you get oriented.
A Signed-In GitHub Account
Copilot requires a GitHub account and an active plan or free-tier access. Signing in is what unlocks suggestions. Without it, the extension installs but stays inactive.
The Right Extension
Search the Marketplace for the official GitHub Copilot extension published by GitHub. Installing the correct one avoids look-alikes and ensures you get chat and completions. The publisher name is your best signal.
A Supported Editor Version
Keep VS Code reasonably up to date, since Copilot features track recent releases. An outdated editor can miss chat or newer capabilities. Updating takes a minute and prevents confusing gaps.
Clear Expectations
Copilot suggests; it does not decide. Knowing that up front keeps you reading suggestions instead of trusting them blindly. That mindset is the single biggest factor in learning well with it.
How to Set It Up
Start by opening VS Code and going to the Extensions panel. Search for GitHub Copilot, confirm the publisher is GitHub, and install it. The chat companion often installs alongside it or as a related extension.
Next, sign in. A prompt appears asking you to authorize the extension with your GitHub account, following the steps on the official Copilot page. Complete the browser sign-in, and VS Code links to your account automatically.
Once signed in, open any code file and begin typing. Within a moment you should see grayed-out suggestions ahead of your cursor. Press Tab to accept a suggestion, or keep typing to ignore it.
To use chat, open the Copilot chat view from the sidebar or command palette. From there you can ask questions about your code, request explanations, or ask for a rewrite of a selected block.
If suggestions do not appear, check a few common causes. Confirm you are signed in, that the file type is supported, and that Copilot is enabled for the current language. A quick editor restart often clears a stuck session.
You can also tune how Copilot behaves. The extension settings let you enable or disable inline suggestions per language and toggle features you do not want. Beginners usually leave the defaults on until they know what to change.
A few interactions are worth learning early. Press Tab to accept a whole suggestion, and Escape to dismiss one you do not want. When Copilot offers a suggestion, you can often cycle to an alternative rather than taking the first idea. You can also accept just part of a suggestion, one word at a time, instead of the entire block.
The exact key bindings can shift between releases, so open the Command Palette and search for “Copilot” to see the current shortcuts on your machine. Learning these controls keeps you deliberate about what you accept. That matters most while you are still building the habit of reading before you commit.
Each Copilot Feature and When It Helps
The table below summarizes Copilot’s main features in VS Code and when each one helps. It is a practical overview, not an exhaustive reference.
| Feature | What It Does | Best Used For |
|---|---|---|
| Inline completions | Suggests code as you type | Boilerplate and syntax recall |
| Copilot chat | Answers questions in context | Explaining and debugging code |
| Comment prompts | Turns comments into code | Sketching a function quickly |
| Code selection edits | Rewrites highlighted code | Refactoring small blocks |
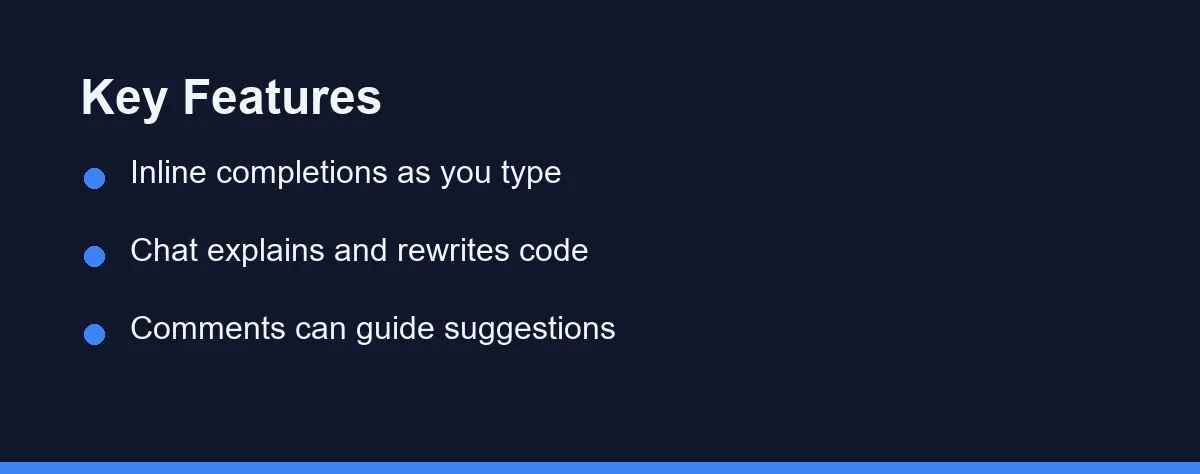
The pattern is clear across rows. Completions keep you moving, and chat helps you understand.
For a beginner, the explanation features often matter more than raw speed. A faster wrong answer teaches nothing.
How to Choose Your Workflow
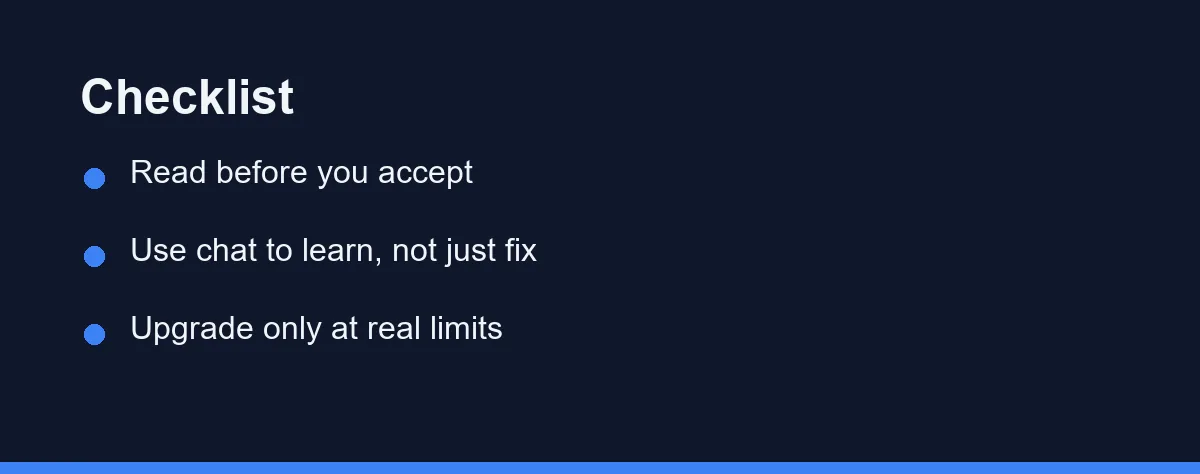
Decide early how much you want to rely on suggestions. A healthy starting rule is to read every suggestion before accepting it. That single habit keeps Copilot from writing code you cannot explain.
Use chat as a tutor, not just a fixer. When an error appears, ask what it means before asking for the fix. Understanding the cause is what turns a bug into a lesson.
Let comments guide the tool. Writing a short comment describing what you want often produces a cleaner suggestion. This also forces you to think through the problem first.
Keep occasional practice sessions with completions turned off. New to AI tools? Our Claude Code setup guide covers the same review-first mindset.
Free Caps, Paid Limits, and Student Access
Copilot has typically offered a free tier with usage caps, individual paid plans with higher limits, and free access for verified students through GitHub Education. Exact quotas and eligibility have changed several times and likely will again.
As of October 2026, GitHub’s plan docs cap Copilot Free at 2,000 completions per month and list Copilot Pro at $10 per month. Completions are unlimited on paid plans, while chat draws on a monthly allowance of AI credits. Verified students can get Copilot Student at no cost.
For beginners, the practical takeaway is that trying Copilot costs nothing. Between the free tier and student verification, you can use the real product long enough to judge its value.
Prices change faster than articles do. Always confirm current plans, caps, and student eligibility on the official GitHub pricing and education pages before deciding.
Which Copilot Setup Fits You
A complete beginner writing first programs. Keep inline completion off for the first few weeks and use chat only to explain errors. Copilot finishing your loops before you understand them slows real learning down.
A student following a course. Turn completions on for setup and configuration files, and off for graded exercises. Check your course policy before you settle on either.
A developer moving to an unfamiliar language. This is Copilot at its most useful. Idiomatic syntax you half remember appears as you type, and chat can translate a pattern you already know into the new language.
Frontend work with lots of markup. Completions handle repetitive components, props, and styling blocks well. Review any generated accessibility attributes closely, since they often look plausible and are wrong.
Working in a large existing repository. Open the related files in nearby tabs before you start. Copilot leans on your open editor context, so a tidy workspace changes suggestion quality more than any setting.
Writing tests for code you already have. Point Copilot chat at the function and ask for the edge cases first. A list of cases you can argue with beats a finished test file you skim.
Minutes to Set Up, Longer to Use Well
Using GitHub Copilot in VS Code is straightforward: install the extension, sign in, and start typing. The setup takes minutes, and the core features reveal themselves quickly once suggestions begin to appear.
The difference between helpful and harmful use comes down to habits. Read before you accept, ask chat to explain rather than just fix, and practice without it now and then to keep your skills sharp.
Treat each suggestion as a draft to review, not a final answer. Keep a rough sense of what the code should do before you accept it, and pause when a completion looks longer or cleverer than you expected. That habit keeps you in control of your own codebase as it grows.
Set up this way, Copilot becomes a genuine learning aid inside an editor you already know. Get the habits right early, and the tool speeds you up without slowing your growth.
FAQ
How do I turn on GitHub Copilot in VS Code?
Install the GitHub Copilot extension from the VS Code Marketplace, sign in with your GitHub account, and start typing. Suggestions appear inline, and you press Tab to accept them.
Can I use Copilot in VS Code for free?
Yes. GitHub has offered a free tier with usage limits, and verified students have historically received free access through GitHub Education. You can try the real product before paying anything.
How do I ask Copilot to explain code?
Open the Copilot chat panel, paste the error or highlight the code, and ask a plain-language question. The answer arrives in the context of your open file, which makes it easier to act on.
Why does Copilot suggest nothing in some files?
The usual causes are an unsupported file type, a language switched off in the extension settings, and a session that quietly lost its sign-in. Copilot also stays silent inside files matched by content exclusion rules that an organization has configured. Open the Command Palette and check the Copilot status entry, which reports whether it is active for the current language. Reloading the window clears most stuck sessions.
How do I get better Copilot suggestions without writing longer prompts?
Give Copilot more of the right context rather than longer prompts. Keeping related files open in nearby tabs, naming variables clearly, and writing the function signature first all steer completions toward what you mean. A one-line comment stating the intended behavior usually beats a paragraph of explanation. Small, well-named functions produce better suggestions than sprawling ones.
Sources
- GitHub Copilot documentation — checked 2026-09-07
- GitHub Copilot plans — checked 2026-09-07
- GitHub Docs: Copilot plans — checked 2026-10-03
- GitHub Docs: Usage-based billing for individuals — checked 2026-10-03
Some links may be affiliate links. We may earn a commission at no extra cost to you.
This article was written with AI assistance. It is researched and fact-checked, not based on personal hands-on testing unless explicitly stated.
Comments
Post a Comment