How to Set Up Claude Code: Install, Login, First Run (2026)

Zero to First Session in Minutes
Claude Code is a terminal-based AI coding agent from Anthropic. It reads your project, plans changes, edits files, and runs commands from the command line.
This guide walks through setting it up from scratch in 2026. You will go from zero to your first working session in a few minutes.
What You Need First

Before you install anything, make sure you have a few basics ready. The checklist below covers the essentials.
- A terminal you are comfortable with, such as Windows Terminal, macOS Terminal, or any Linux shell.
- Node.js installed, since the tool is distributed through npm.
- An Anthropic account for authentication.
- A code project folder to test against.
If you are missing Node.js, install the long-term support version first. The rest of this guide assumes it is available.
Step 1: Install Node.js
Claude Code installs through npm, which ships with Node.js. To check whether Node.js is already present, run this command:
node --version
npm --version
If both print a version number, you are ready. If not, download the LTS installer from the official Node.js website and run it. Then close and reopen your terminal.
A fresh terminal matters here, because it reloads your system path so the new commands are found.
Step 2: Install Claude Code
With Node.js in place, install the Claude Code command globally. This makes the claude command available anywhere.
npm install -g @anthropic-ai/claude-code

# Confirm the install
claude --version
If the version prints, the install worked. If your terminal cannot find the command, reopen it and try again so the path updates.
Step 3: Authenticate
The first time you launch Claude Code, it guides you through signing in. Move into a project folder, then start the tool.
cd my-project
claude
On the first run, follow the prompt to log in with your Anthropic account. This links the tool to your plan so it can work on your behalf. You only do this once per machine.
Step 4: Your First Session
Now you can give Claude Code a real task. Describe what you want in plain English, and it will read the relevant files before making changes.
Start with something small and safe, such as:
“Explain what main.py does, then add a short docstring to each function.”
Claude Code will show a plan and the edits it intends to make. You review the changes, approve them, and it applies them. Starting small builds trust before you hand it larger jobs.
Useful First Commands
A few patterns help you get value quickly. Try these once you are set up.
- Ask for an explanation of a file or folder before changing it.
- Request one focused change at a time, then review the diff.
- Ask it to run your tests after a change and report the result.
- Have it write or update tests alongside any refactor.
These habits keep sessions predictable and easy to review.
Understanding How Claude Code Works
It helps to picture the loop the tool follows. Claude Code reads the relevant files, forms a plan, proposes edits, and waits for your approval.
This read-plan-edit cycle is why results improve when your request is specific. The clearer the goal, the better the plan it can form.
You stay in control at each step. Nothing changes on disk until you accept the proposed edits, so you can always review first.
Working on Larger Tasks Safely
Once you trust the basics, you can hand over bigger jobs, such as a refactor across several modules. A little structure keeps these safe.
Start by committing your current work, so you have a clean restore point. Then describe the task and any constraints, like which files to leave alone.
Ask the tool to run your tests after it finishes. If something breaks, you can review the diff, request a fix, or roll back to your last commit. This pattern lets you take on ambitious changes without losing control.
A Simple First-Week Plan
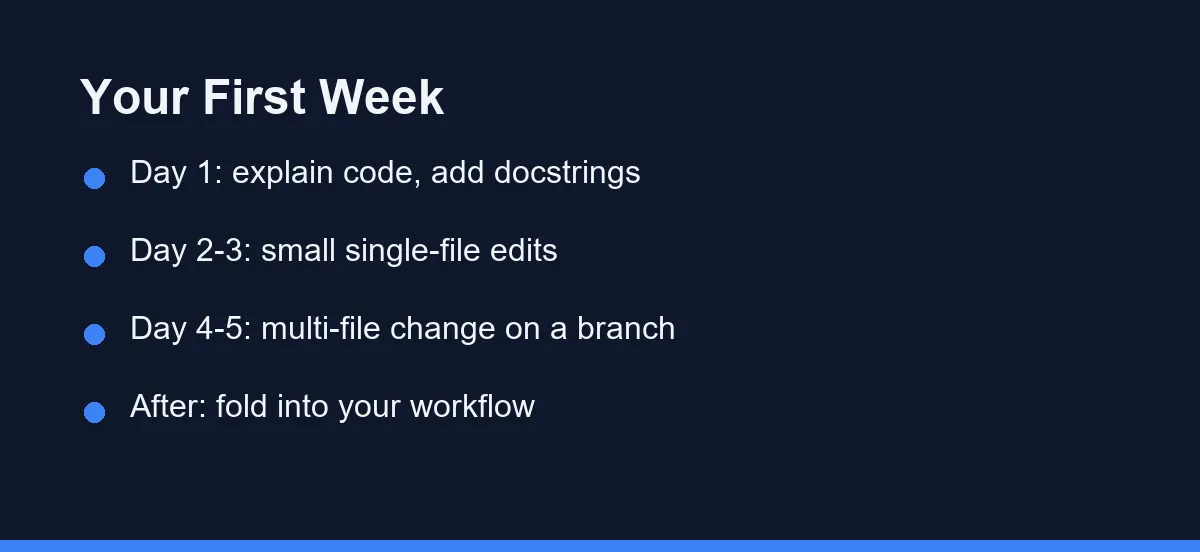
A gentle ramp builds confidence. This short plan works well for new users.
- Day 1: Use it only to explain code and add docstrings.
- Day 2 to 3: Make small, single-file edits and review each diff.
- Day 4 to 5: Try a multi-file change with tests, on a branch.
- After that: Fold it into your normal workflow as you see fit.
By the end of the week, you will have a clear sense of where the tool helps most.
Setup Paths Compared
The install is the same command everywhere, but the environment around it differs. The table below shows what to expect on each common setup.
| Environment | How you install | What to watch for |
|---|---|---|
| macOS Terminal | Node LTS, then a global npm install | Avoid sudo installs, prefer a version manager |
| Linux shell | Node LTS from nvm or your package manager | The global npm prefix may need a writable path |
| Windows Terminal | Node LTS installer, then the global install | Reopen the terminal so the PATH refreshes |
| WSL on Windows | Install Node inside the Linux distribution | Keep the project on the Linux file system |
| Dev container or remote SSH | Install Node in the image or on the host | The install vanishes unless it lives in the image |
Pick the row that matches your machine before you start. Most setup complaints trace back to a mismatch between where Node lives and where you run the command.
Common Setup Problems and Fixes
Most setup issues come from the environment rather than the tool itself. Here are quick fixes for the usual ones.
Command not found. Reopen your terminal so the path refreshes. If it still fails, confirm that Node.js and npm are installed.
Permission errors on install. On some systems, global npm installs need adjusted permissions. Using a Node version manager avoids this cleanly.
Login not completing. Make sure your default browser can open, and that you finish the sign-in prompt before returning to the terminal.
Nothing happens in a folder. Confirm you started claude inside the correct project directory, since it works on the current folder.
Three Workflows Worth Trying
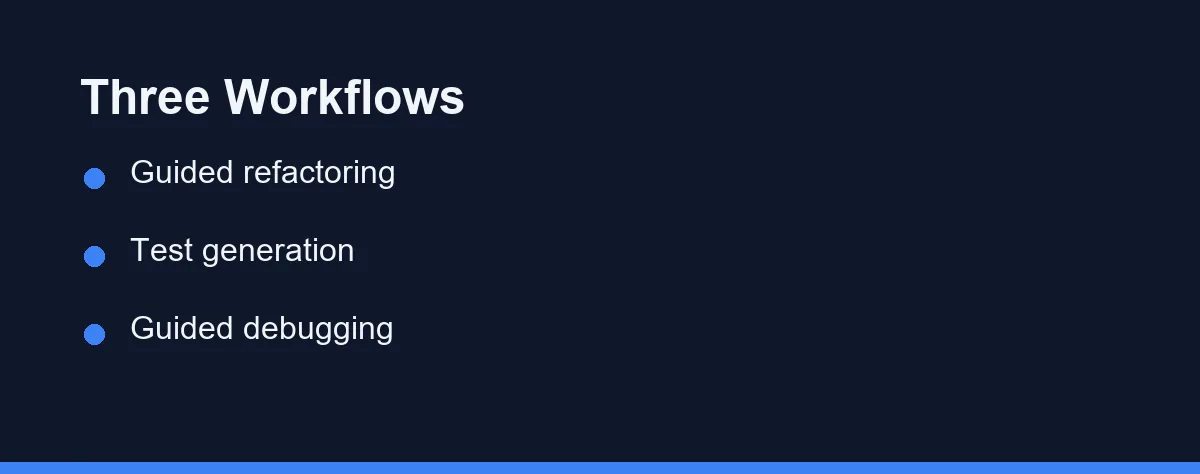
Once the setup is done, a few repeatable workflows show the tool at its best. Each one is safe to try on a small project.
The first is guided refactoring. You ask Claude Code to rename a function or extract a helper, then review the diff and run the tests. Because it edits across files, it keeps related code in sync.
The second is test generation. You point it at a module and ask for unit tests that cover the main cases. You then read the tests, adjust any that miss the intent, and commit them. To weigh dedicated options, see the best AI tools for writing unit tests.
The third is guided debugging. You paste an error message or a failing test, and ask the tool to find the cause. It traces the problem across files and proposes a fix, which you review before applying.
Each workflow follows the same rhythm: describe the goal, review the plan, check the diff, and run the tests. Practicing these three builds a reliable habit you can apply to almost any task. They also make it clear where the tool saves you the most time, which helps you decide how far to lean on it.
Tips for a Smooth Workflow
Keep your work in version control. Commit before large AI changes so you can review and roll back easily.
Be specific in your requests. Naming the exact file or function leads to better results than a vague instruction.
For a broader look at the category, see our guide to the best AI coding assistants. If you are weighing tools, our Claude Code vs Cursor comparison covers the trade-offs for Python.
Which Setup Fits You
A first install on a personal machine. Use the Node LTS installer and a global npm install, then run the tool inside one small project. Keep the first week to explanations and single-file edits.
A locked-down work laptop. Expect permission problems with global installs. A Node version manager keeps everything inside your home directory and avoids asking for admin rights.
A Windows developer. WSL gives the smoothest experience, because the agent and your shell tooling then share one Linux environment. A plain Windows terminal works too, but keep the project off a network drive.
A team standardizing setup. Write the four steps into your repository README and pin the Node version. One documented path prevents the support requests that follow ad hoc installs.
Working in an unfamiliar codebase. Start the session in the subdirectory you actually need. A narrower starting folder keeps the context small, cheap, and easier to review.
Four Steps, Then Small Tasks First
Setting up Claude Code takes only four steps: install Node.js, install the tool, authenticate, and start a session.
Begin with small, low-risk tasks to learn how it plans and edits. Once you trust the flow, you can move on to larger, repository-wide changes with confidence.
If you get stuck during setup, revisit the requirements and the fixes above, since most issues trace back to Node.js or your terminal path. With the basics in place, you are ready to let an AI agent handle the repetitive parts of your day while you focus on the work that matters.
Claude Code is not the only terminal agent worth a look. Claude Code vs Gemini CLI compares the two on context handling, permissions, and cost, which is usually what decides it for a given repository.
Windows setups hit a few edges the install steps do not mention. Our writeup of six Windows traps covers the encoding and file lock problems that follow.
FAQ
What do I need before installing Claude Code?
You need Node.js installed, a terminal, and an Anthropic account. A project folder to work in is also helpful.
Does Claude Code work on Windows, macOS, and Linux?
Yes. It runs in the terminal on all three. On Windows, many users run it inside WSL or a standard terminal.
Is Claude Code free to use?
Access is through Anthropic plans and usage-based billing. Check the official pricing page for current details before you start.
Should I install Claude Code globally or per project?
A global npm install is the normal path, since the claude command then works in any directory you open. The tool takes its context from your current folder, so one install serves every project on the machine. If a global install hits permission errors, a Node version manager gives you a writable prefix without touching system directories. Installing separately per project offers no real benefit.
How do I stop Claude Code from touching files I do not want changed?
Say so directly in the request, naming the folders or files that must stay untouched. The agent shows a plan and a diff before writing anything, so you can reject an edit that strays outside the scope you asked for. Committing your work first gives you a clean rollback point if something slips through. Starting the session in a narrower subdirectory also limits what it reads.
Sources
- Claude Code documentation — checked 2026-09-07
- Anthropic pricing — checked 2026-09-07
Some links may be affiliate links. We may earn a commission at no extra cost to you.
This article was written with AI assistance. It is researched and fact-checked, not based on personal hands-on testing unless explicitly stated.
Comments
Post a Comment